|
Cell Phone Edge Connector Quick Start Guide: May 23, 2003
This guide is intended to give you a step-by-step process for removing and replacing cell phone connectors. This process also applies to other edge style connectors though process times may vary depending on board and component density.
You will need the following items:
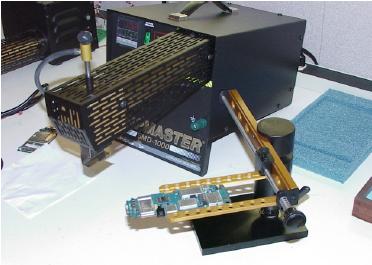
- Chipmaster (8100-1003-114) or Chipmaster-Z. (8100-1003-114-Z)
- Board Holder (8100-0485)
- Flux- Flux comes with the APE SMD tool kit (8100-1097) provided with the above stations and can also be ordered from us separately. (8200-1310)
- Tweezers – also come with the SMD tool kit (8100-1097)
- Cleaning pen and lint free wipes- cleaning pen also comes in SMD tool kit (8100-1097)
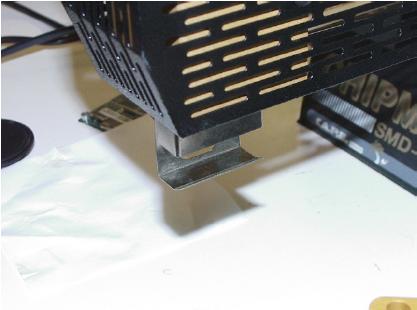
- Mount your Edge connector nozzle. In this case 8100-edge-160. Orient the nozzle to the direction that is appropriate for you. Your workstation may require a different angle this is ok.
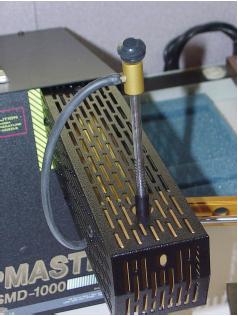
2. Lift the Vacuum pick up tube out of the way. Either up into the guide tube or remove all the way. We want to keep the unused vacuum cup from interfering with air delivery. Normally it is connected to the top of the IC and this is not a problem.
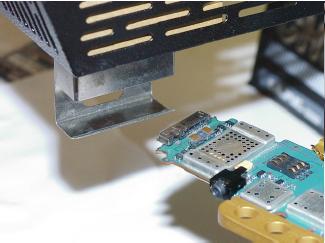 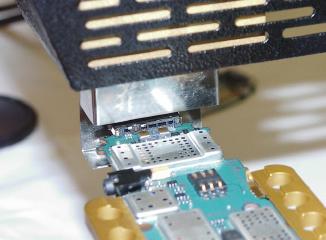
- Mount the Board in the fixture and set the height so that the connector is centrally located in the air stream.
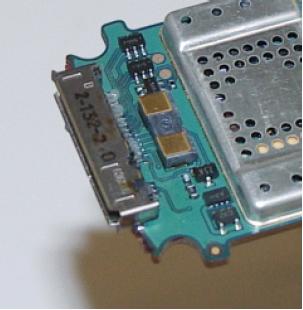
- Flux the exposed leads and around the base of the component.
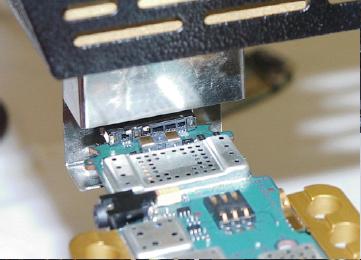 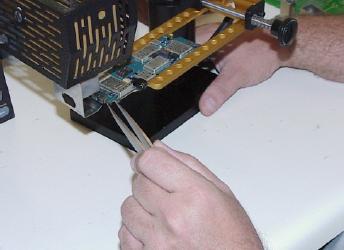 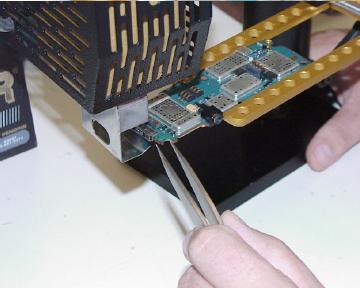 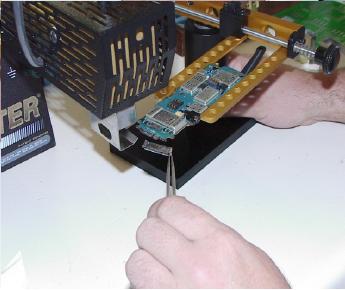
- Centrally locate the connector in the air stream and begin your heating process. We find that a set-point of 475f to 500f works quiet well with the edge connector nozzle. At 1 minute use your tweezers to see if the connector has reflowed. If not wait about 15 seconds more and try again .Repeat this until you find the time it takes to remove your device. Once it has reflowed gently move the board holder out and remove the connector . (It will stay reflowed for a few seconds so you have time to work)
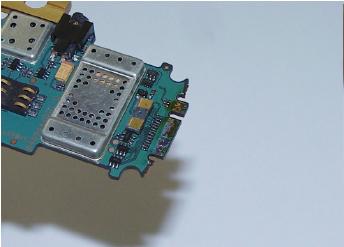 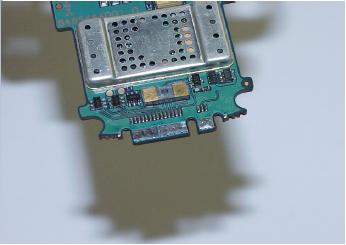
- Clean the connector site area with your cleaning pen or appropriate cleaning agent. Cleaned site will look like the picture on the right.
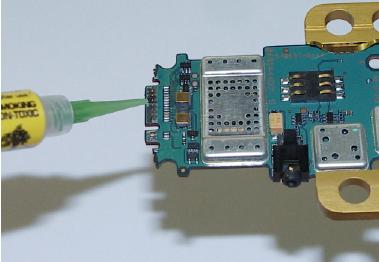 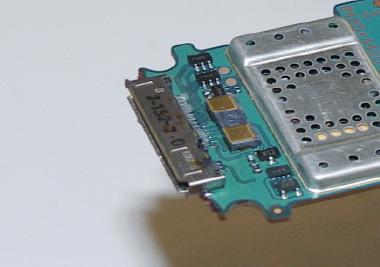
- Apply flux to areas to be soldered and mount the component making sure to properly align the connector pins with the land area.
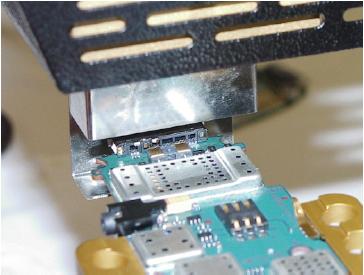
- Place the connector back into the air stream and begin your heating process. Let the connector heat for about 10 seconds longer than it took to remove it to assure complete solder reflow.
- Remove from air stream and let cool. Again the solder will still be reflowed for a few seconds after removal so be careful not to move it. After it cools clean the area of extra flux residue.
This completes your connector repair. Please call us if you have any questions on this, we are happy to assist you in your rework challenges.
|
 Shop Online


